12 Greenhouse Layout Ideas Every Gardener Will Love
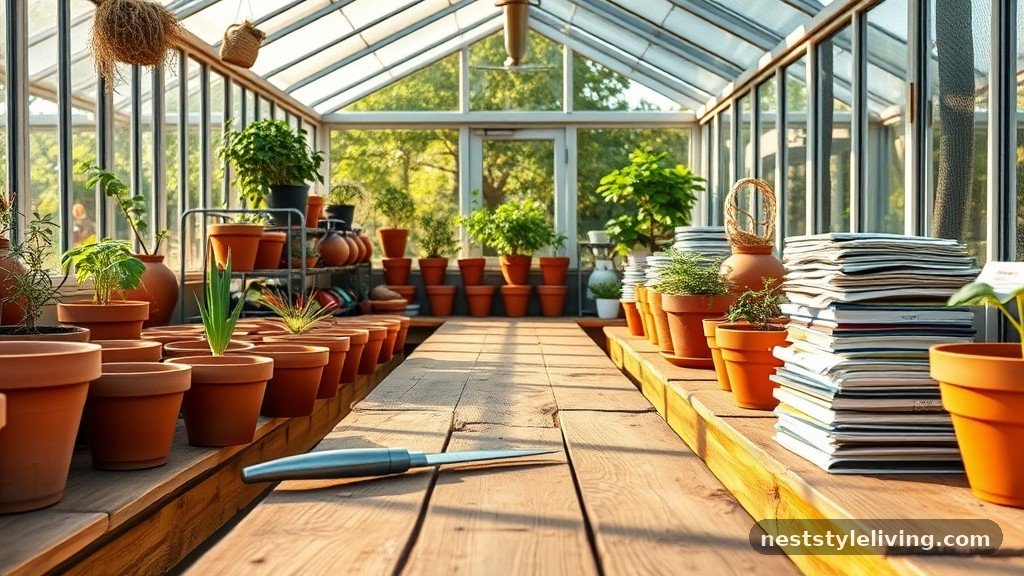
Optimizing your workspace with smart greenhouse layout ideas every gardener will love can transform a simple glass enclosure into a highly productive botanical engine. By carefully arranging your benches, walkways, and storage, you maximize sunlight exposure and airflow while ensuring that daily maintenance tasks become efficient rather than cumbersome. Whether you are managing a small backyard hobby space or a larger commercial setup, the internal architecture dictates the health of your plants.
This collection of functional designs provides the clarity needed to organize your growing environment for maximum output and ease of access. Each configuration addresses specific needs, from seed starting to overwintering sensitive perennial stock, ensuring your setup supports your long-term horticultural goals.
1. The Central Workstation Spine
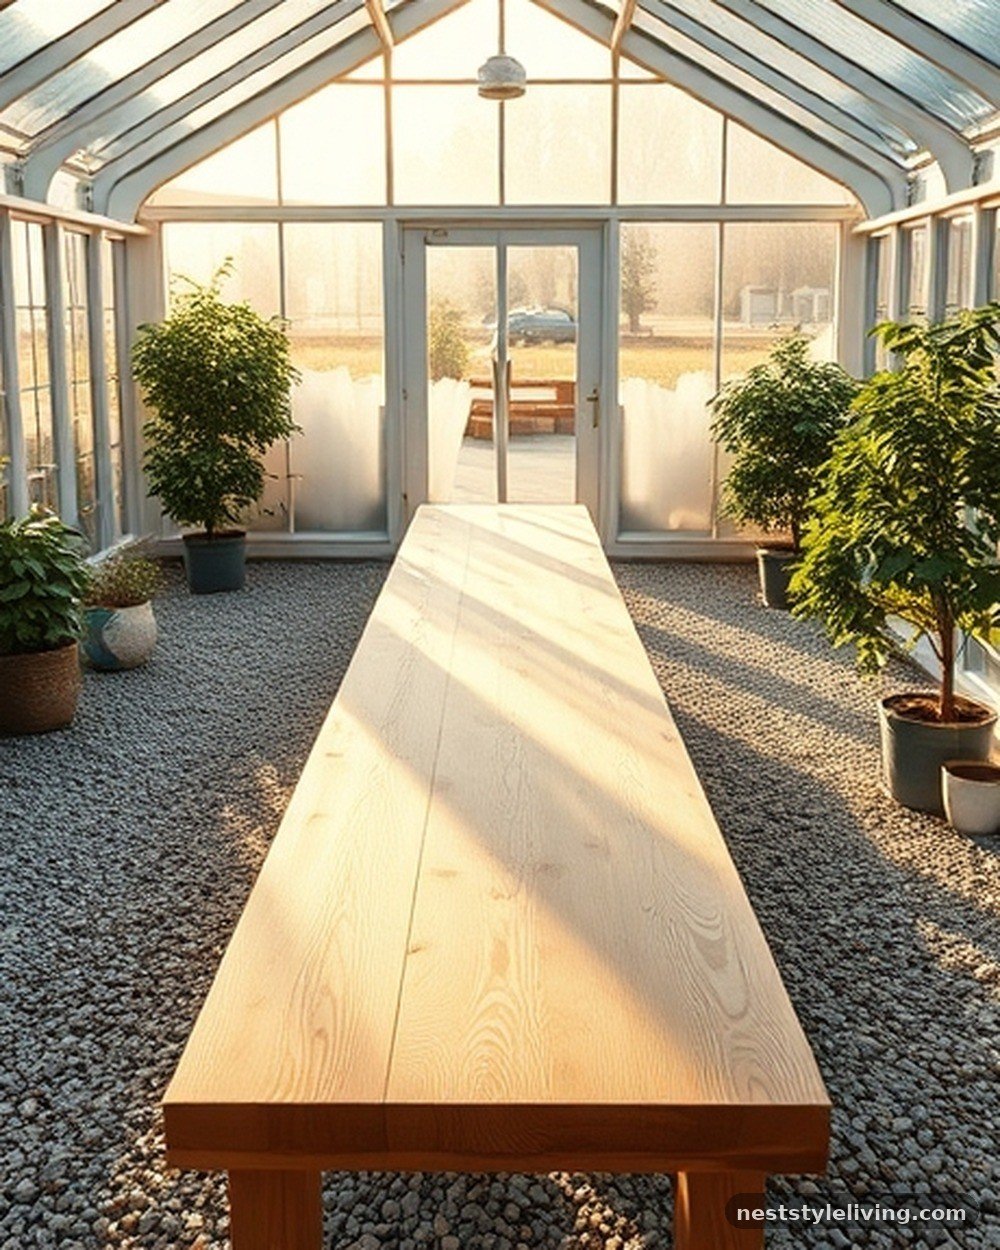
The central workstation layout creates a high-efficiency corridor by placing a long, narrow table directly down the middle of the greenhouse, flanked by two primary walkways. This design allows you to access your plants from both sides of the bench, which is essential for pruning, repotting, or inspecting for pests without having to reach over wide planting areas. Visually, this creates a clean, symmetrical look that mimics professional propagation houses.
The materials used here are often galvanized steel or pressure-treated cedar, which provide the stability required to hold heavy flats of soil and mature container plants. By keeping the center clear for movement and the edges dedicated to growing, you prevent the chaotic clutter that often plagues smaller structures. This setup is particularly effective for those who spend several hours a day on intensive care tasks.
Place your primary potting bench at the entrance end of the central spine to minimize the distance you carry heavy bags of soil or trays of seedlings.
2. Tiered Vertical Staging
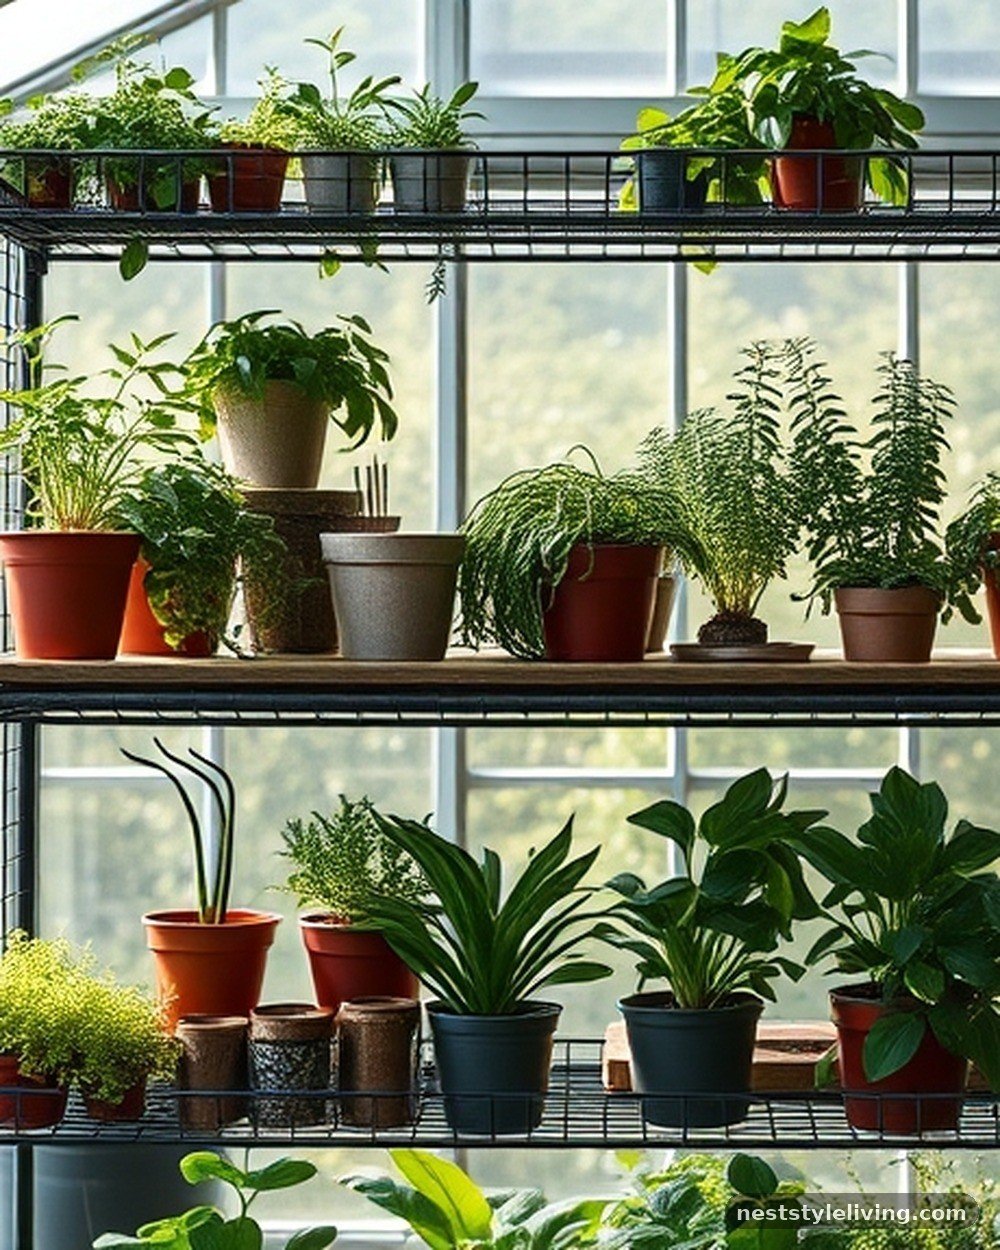
Vertical staging utilizes the often-wasted air space above standard benches by incorporating tiered shelving that climbs toward the roofline. This layout is ideal for gardeners who want to expand their capacity without increasing the greenhouse footprint. You might see a three-tier setup where the bottom shelf holds heavy, moisture-loving ferns, the middle shelf supports standard pots, and the top shelf houses light-seeking herbs or hanging baskets.
To ensure this works, you must install the shelves at angles that allow light to reach the lower tiers, typically by using wire mesh shelving that permits light penetration and water drainage. This arrangement mimics the natural forest canopy, providing a variety of microclimates within a single footprint. It is a highly effective way to manage a large collection of diverse species that require varying levels of sun exposure.
Use heavy-duty, rust-resistant wire shelving to ensure that water from the top level drains freely onto the floor or into a collection tray below.
3. The U-Shaped Perimeter
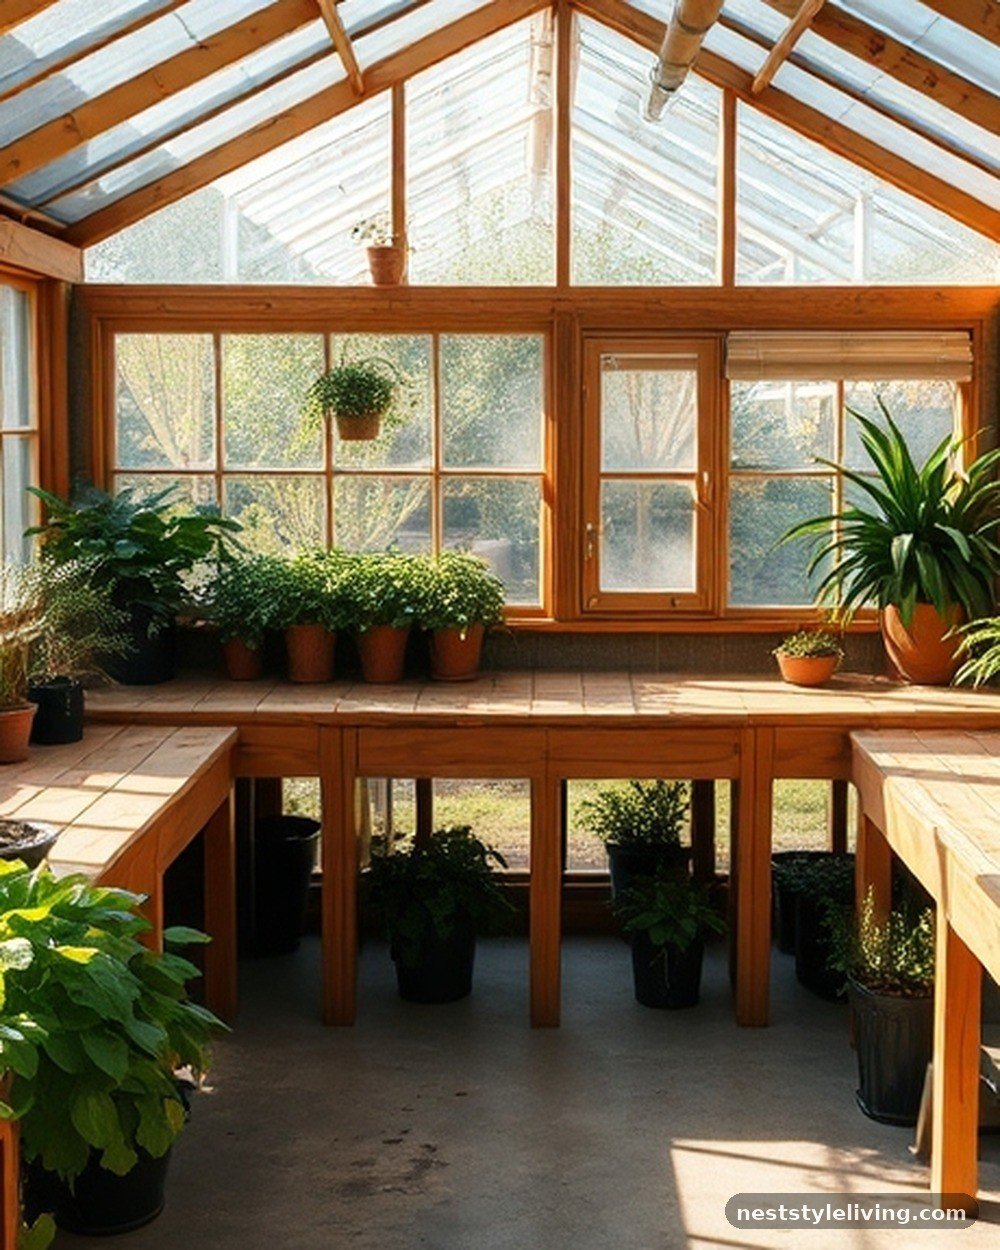
The U-shaped perimeter layout maximizes the available wall space by wrapping benches around three sides of the greenhouse, leaving the fourth wall for the door and a small transition area. This configuration is the gold standard for smaller hobby greenhouses, as it creates a cozy, immersive environment where the gardener is surrounded by foliage. The corners of the U are often utilized for larger, feature plants that don’t need frequent moving, while the straight runs are reserved for active seed-starting trays.
By using a U-shape, you effectively create a focal point in the center of the room, which can house a small stool or a decorative element, making the space feel more like a garden room and less like a utilitarian shed. It is compatible with almost any structural shape, from traditional gables to modern hoop houses.
Install wide, fixed benches along the walls and save the center for a portable, wheeled potting cart that can be tucked away when not in use.
4. The Wheelchair-Accessible Loop
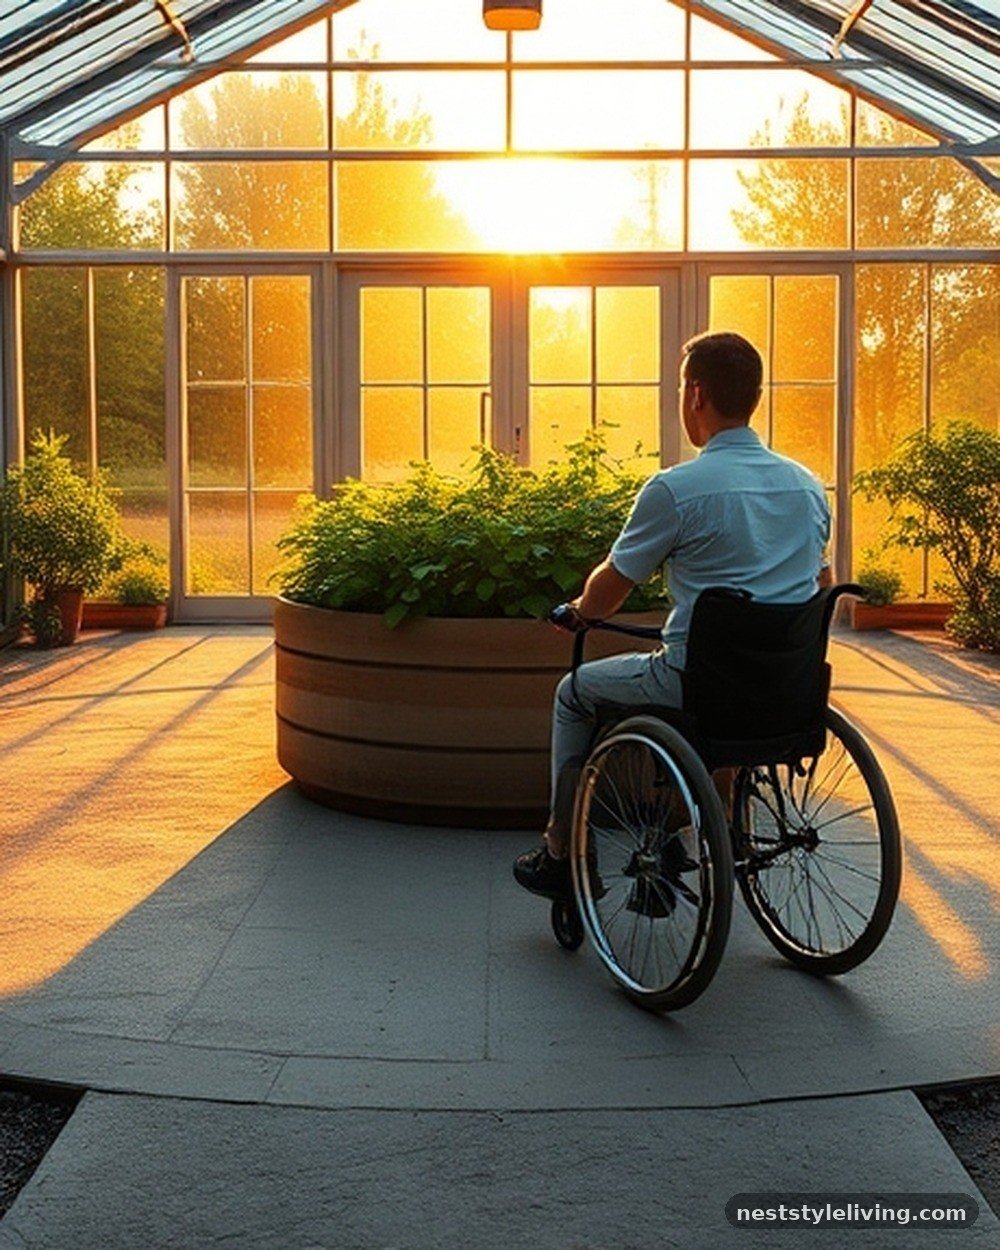
Creating a wide, circular path around a central island of plants allows for easy navigation, which is vital for gardeners with mobility challenges or those who use heavy carts for transport. This layout features a continuous loop that ensures you never have to turn around in a tight spot, providing a seamless flow from the entrance to the back of the greenhouse. The floor surface should be firm and level, such as crushed gravel over landscape fabric or poured concrete, to prevent tripping hazards.
By placing the most frequently accessed items on the inner island, you reduce the distance traveled during daily chores. This design is highly functional and provides a sense of openness that makes even a compact greenhouse feel surprisingly spacious and orderly for all users.
Ensure your pathways are at least 36 inches wide to accommodate a standard garden cart or a wheelchair comfortably without damaging the edges of your planting benches.
5. The Cold Frame Integration
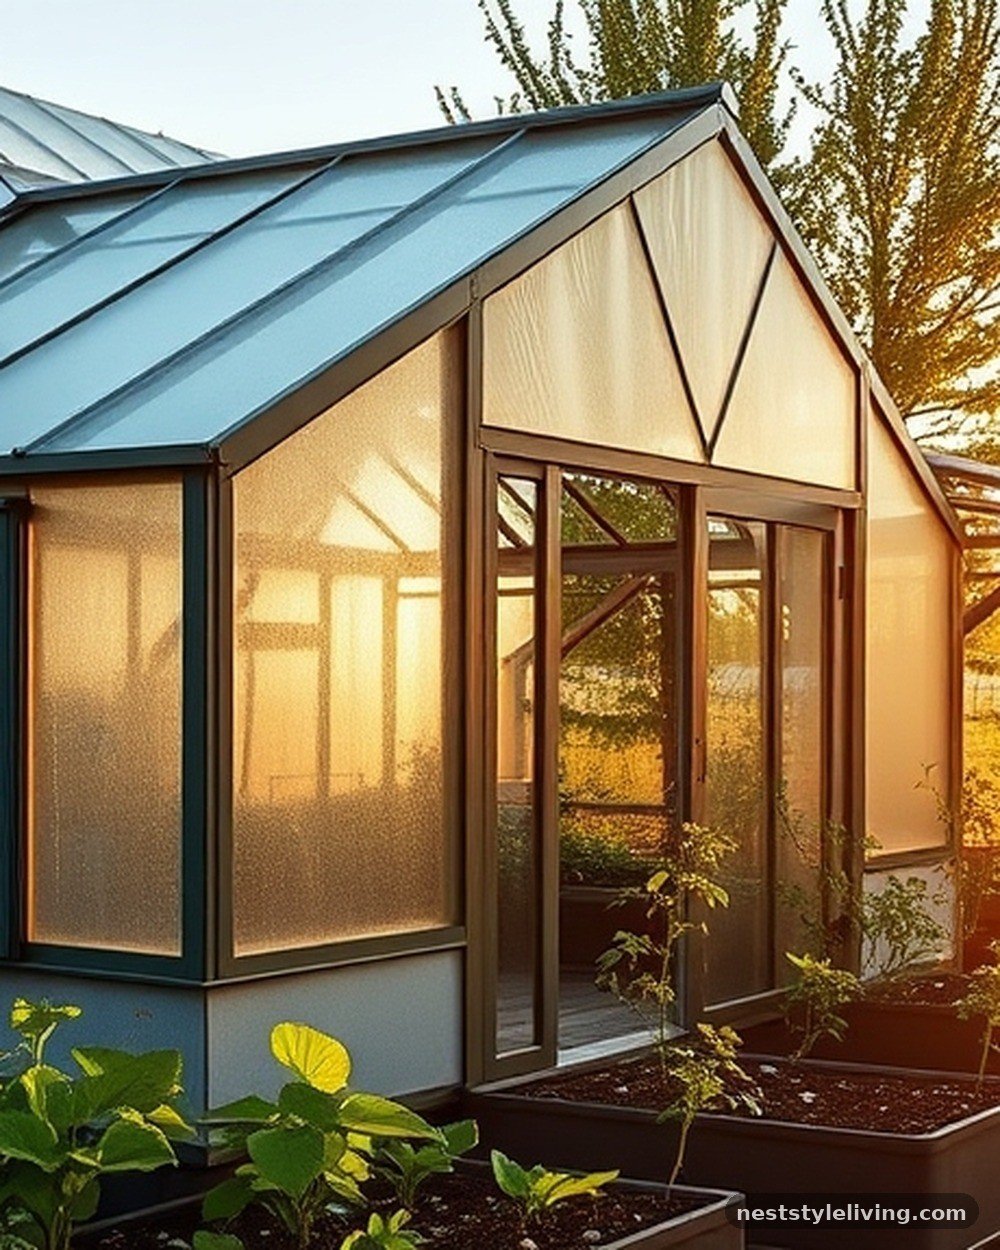
Integrating a cold frame directly into the north wall of your greenhouse allows you to extend the season for hardy crops without taking up valuable interior floor space. The cold frame is constructed as an attached, sloped-glass structure on the exterior that shares the internal wall, allowing heat from the greenhouse to keep the frame slightly warmer than the outside air. This is a brilliant way to harden off seedlings before moving them to the main growing area.
Visually, the cold frame appears as an extension of the greenhouse structure, maintaining a clean architectural line. This layout is particularly useful for gardeners in temperate climates who want to start cool-season vegetables like spinach or kale early in the spring without risking them in the frost-prone outdoors.
Build the cold frame with a hinged lid that can be propped open from the inside of the greenhouse to regulate temperature and humidity levels during sunny days.
6. The Hanging Garden Canopy
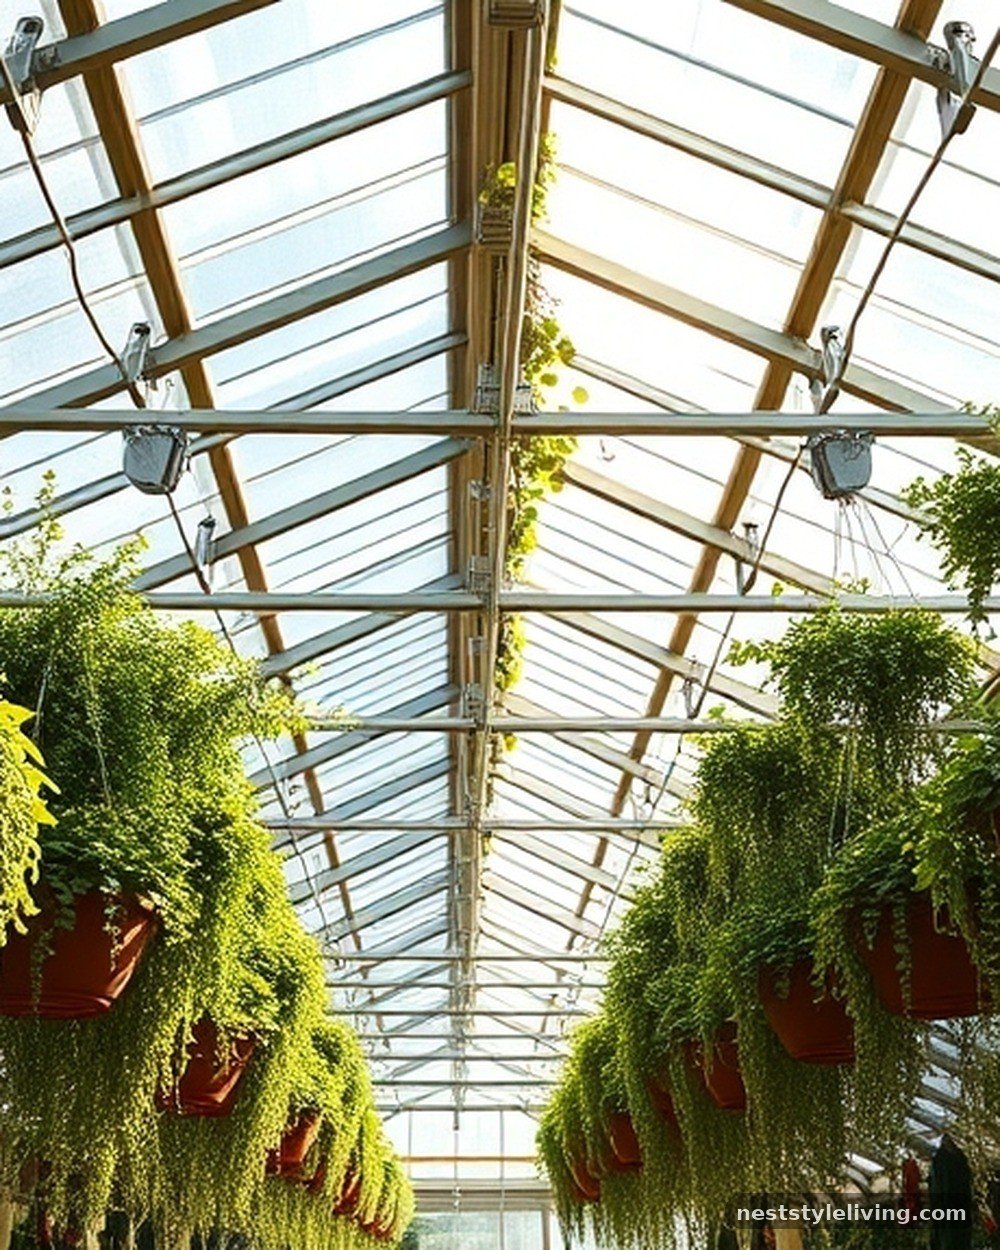
A hanging garden canopy layout focuses on utilizing the rafters and roof trusses to support an array of suspended plants, effectively doubling your growing surface area. This layout involves installing a series of heavy-duty pulleys or fixed hooks along the greenhouse frame to hold hanging baskets, air plants, or even trailing vines. By lifting plants off the benches, you clear the floor space for larger containers or foot traffic, while also exposing the suspended plants to the higher light levels found near the glass.
Visually, this creates a lush, jungle-like aesthetic that draws the eye upward and makes the greenhouse feel taller and more vibrant. This design requires a sturdy structural frame, so ensure your greenhouse rafters are rated for the additional weight of wet soil and pots.
Install a drip irrigation system with flexible tubing that runs along the rafters to automatically water your hanging plants, saving you from daily ladder work.
7. The Hydroponic Row System
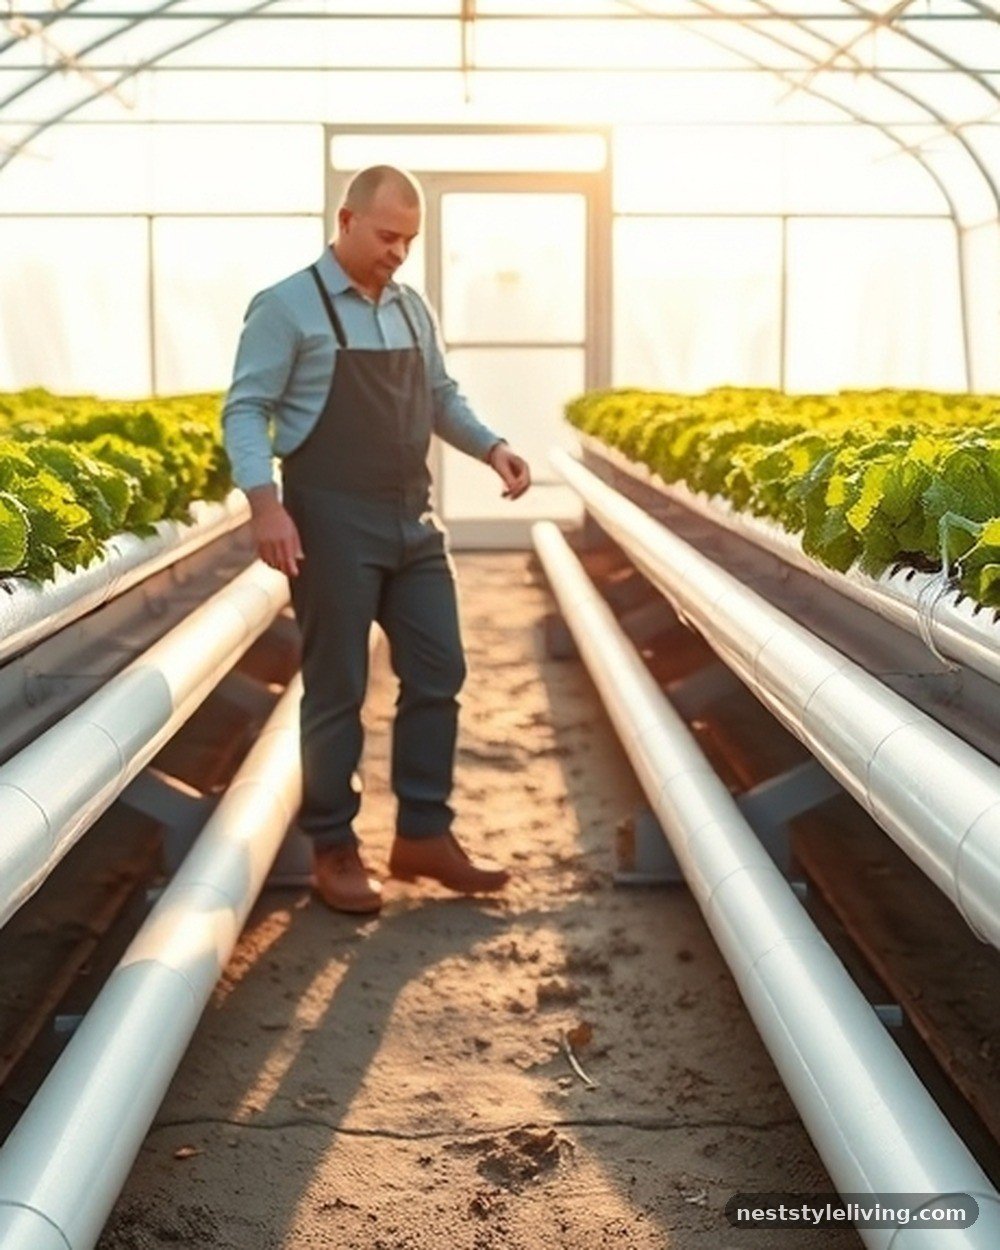
For those interested in high-intensity production, a hydroponic row system layout utilizes PVC pipes or pre-made troughs arranged in parallel lines. This layout is entirely different from soil-based gardening, as it replaces heavy benches with a clean, plumbing-focused infrastructure. The rows are usually elevated to waist height, making planting and harvesting extremely ergonomic.
Because hydroponics does not require heavy soil, the weight load on the greenhouse floor is significantly lower, allowing for lighter shelving materials. The system often includes a central reservoir at one end, which acts as the heart of the operation. This layout looks very modern and clinical, appealing to gardeners who prioritize scientific precision and high yields of leafy greens or tomatoes over the traditional “cottage” aesthetic.
Set up your hydroponic rows with a slight gradient to ensure the nutrient solution flows effectively back to the reservoir, preventing stagnant water and root rot.
8. The Sunken Pathway Design
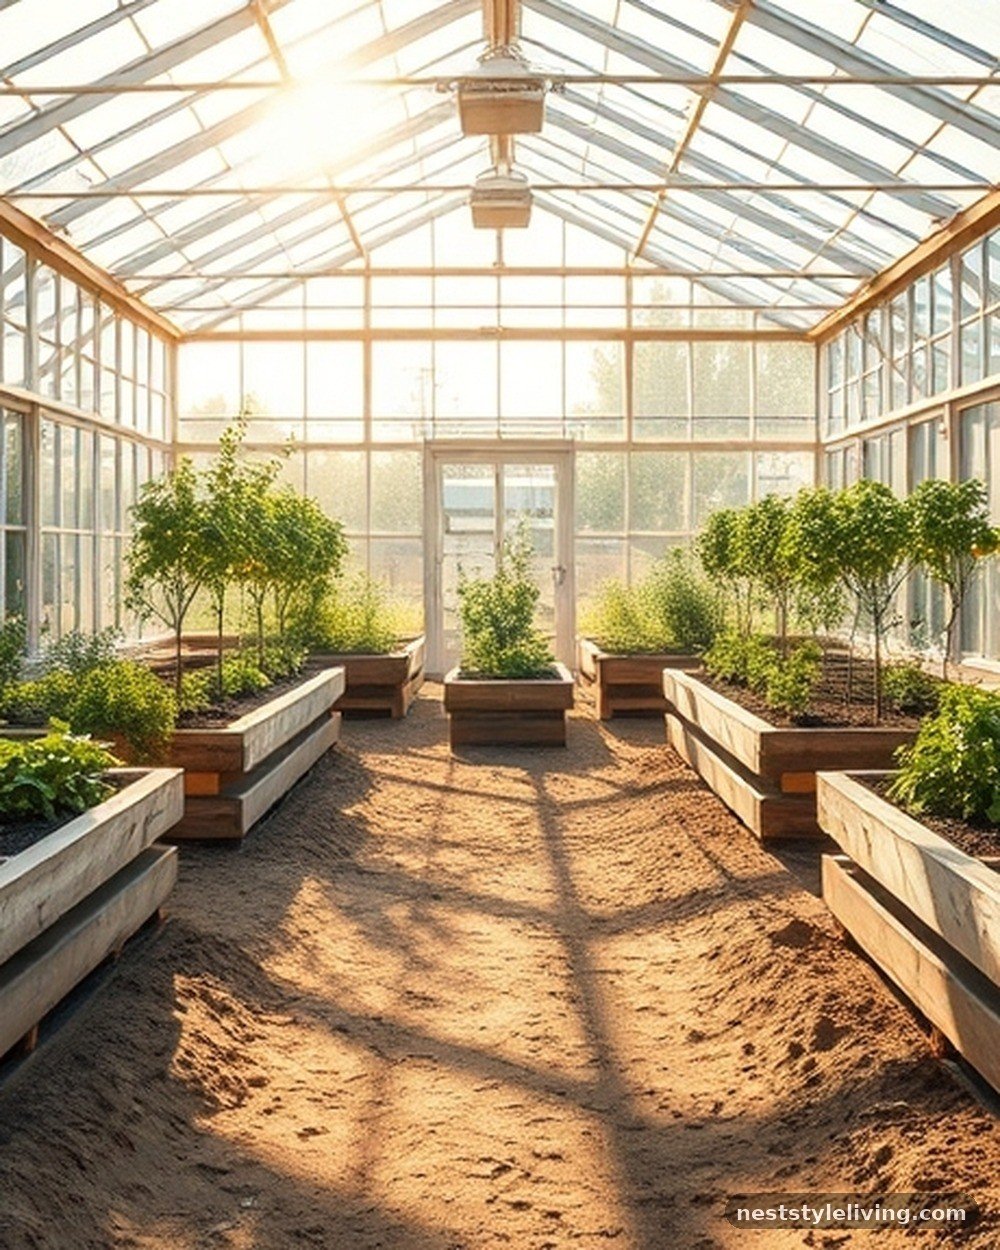
A sunken pathway layout involves digging down the central aisle to create a path that sits lower than the surrounding planting beds. This increases the vertical height available for your plants, allowing you to grow taller varieties like dwarf citrus trees or climbing cucumbers without them hitting the roof. The benches are then positioned at ground level relative to the outside of the greenhouse, which places them at a perfect height for easy access.
Visually, this creates a dramatic, tiered effect that feels like walking through a sunken garden. It is a more labor-intensive layout to install because it requires careful excavation and drainage planning to prevent the path from flooding during heavy rains, but the extra headspace is worth the effort for serious growers.
Line the sunken path with permeable pavers or gravel to provide excellent drainage and prevent the aisle from becoming muddy during your daily watering routines.
9. The Modular Bench Block
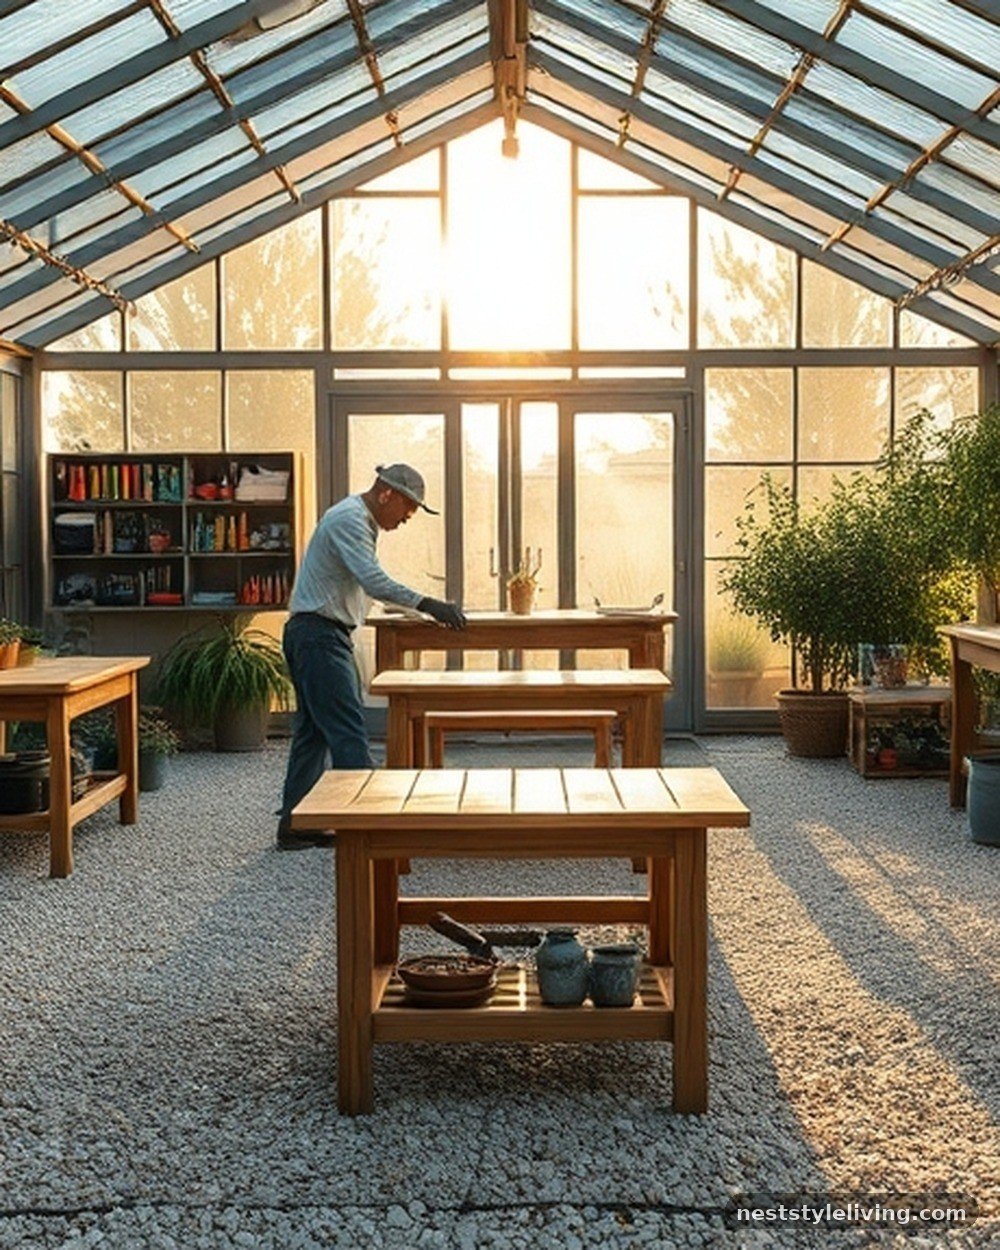
The modular bench block layout uses standalone, movable tables that can be rearranged based on the season. This is the ultimate flexible layout for gardeners who grow a wide variety of plants that have different requirements throughout the year. In the spring, you might group the benches together to create a massive flat surface for starting hundreds of seeds.
By summer, you might pull them apart to create aisles for better airflow around heat-loving peppers or tomatoes. This layout is compatible with almost any greenhouse size and is very budget-friendly, as you can add or remove tables as your needs evolve. The key to this design is ensuring your floor surface is perfectly level so that the tables don’t wobble when moved.
Use heavy-duty locking casters on the legs of your benches to make the process of reconfiguring the layout effortless and safe for a single person.
10. The Propagation Corner
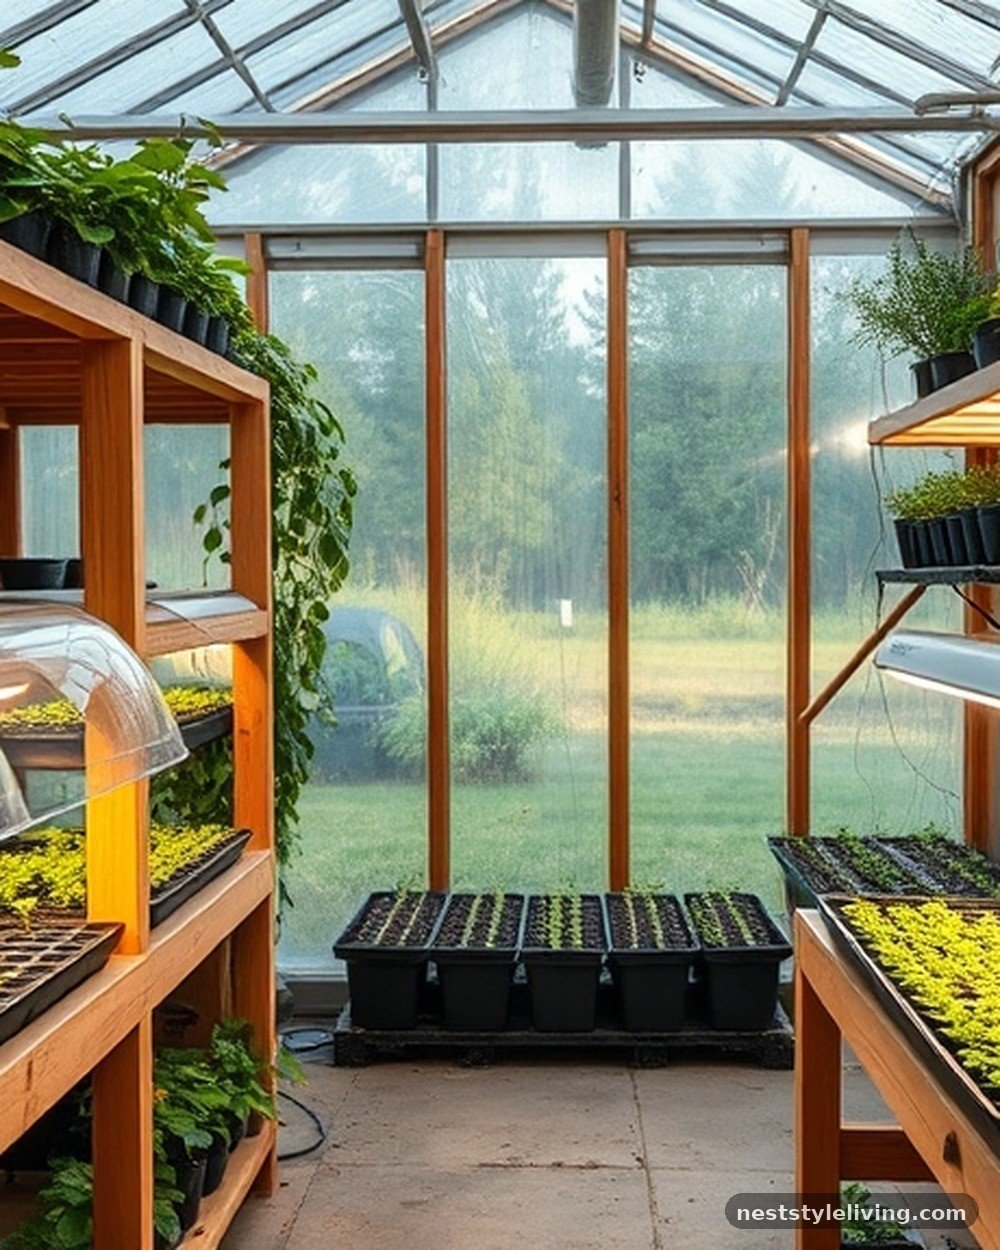
A dedicated propagation corner concentrates all your seed-starting and cutting-rooting activities in one controlled microclimate. This layout typically features an enclosed area with heat mats, humidity domes, and supplemental LED grow lights to ensure the highest possible success rate for delicate starts. By separating this area from the main growing space, you can maintain higher humidity and temperature levels without affecting the rest of the greenhouse.
Visually, this section often looks more technical, featuring glass or plastic partitions that clearly define it from the larger area. This layout is essential for gardeners who propagate their own stock from seeds or cuttings, as it protects fragile new growth from the drafts and temperature fluctuations that might occur near the main doors.
Install a dedicated thermostat-controlled heat mat under your propagation trays to ensure soil temperatures stay within the ideal 70-80 degree Fahrenheit range for rapid germination.
11. The Mixed-Media Display Wall
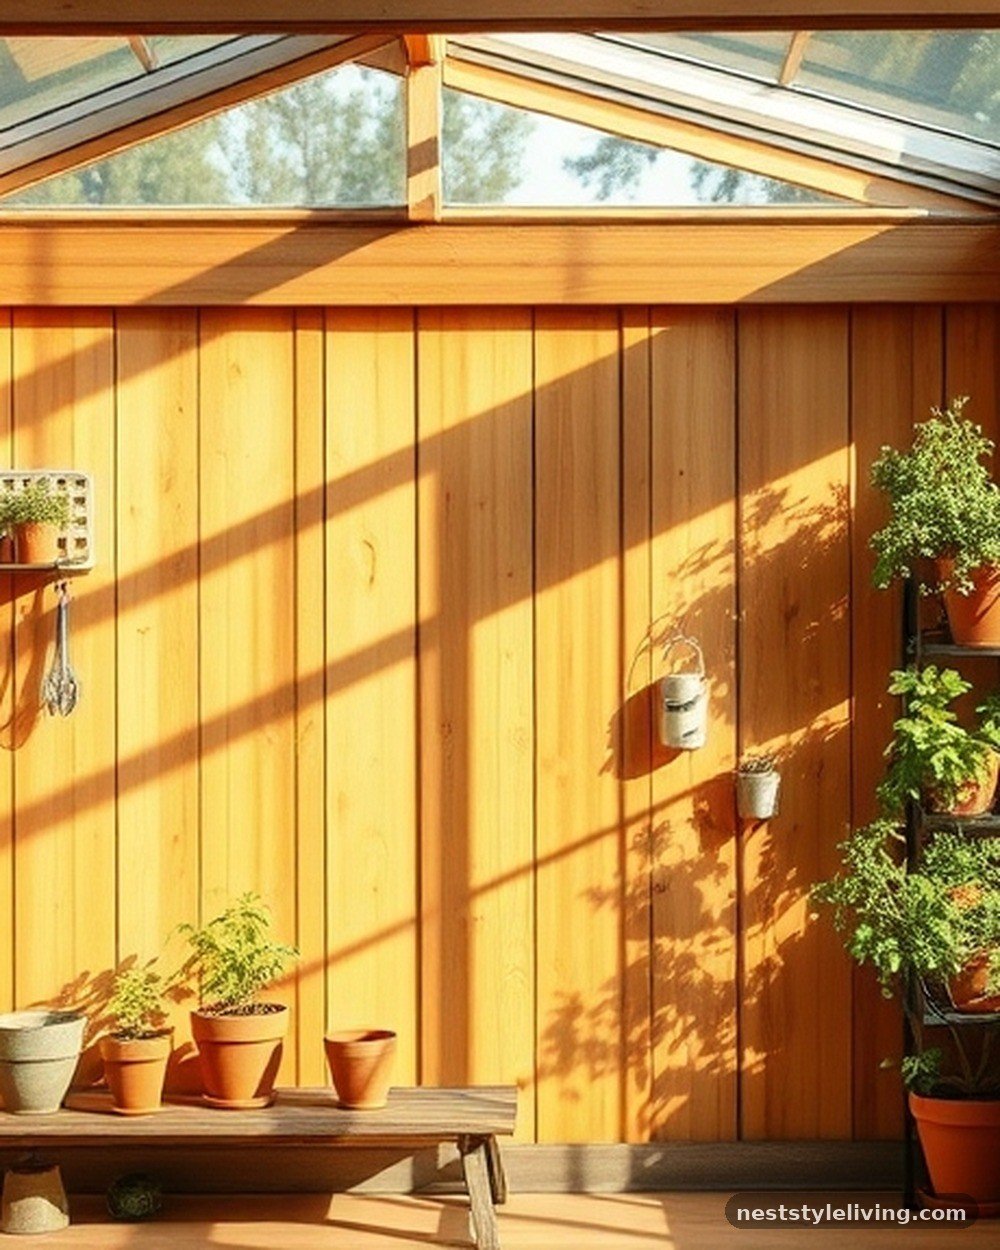
A mixed-media display wall layout utilizes one solid, non-glass wall—often the north-facing wall—to mount tools, supplies, and vertical planters. This maximizes the utility of a wall that otherwise receives very little direct sunlight. You can install pegboards for hand tools, shelves for potting supplies, or even a vertical wall planter for herbs.
By keeping tools organized on the wall, you clear up valuable bench space for plants. This layout is highly functional and gives the greenhouse a professional, workshop-like feel.
It is also an excellent way to store items that are sensitive to direct sun exposure, such as fertilizers or certain plastic pots, which can degrade if left in the light. This wall acts as the command center for all your gardening operations.
Mount a stainless steel pegboard to the back wall and use high-quality hooks to keep your trowels, shears, and labels organized and within arm’s reach at all times.
12. The Overwintering Storage Core
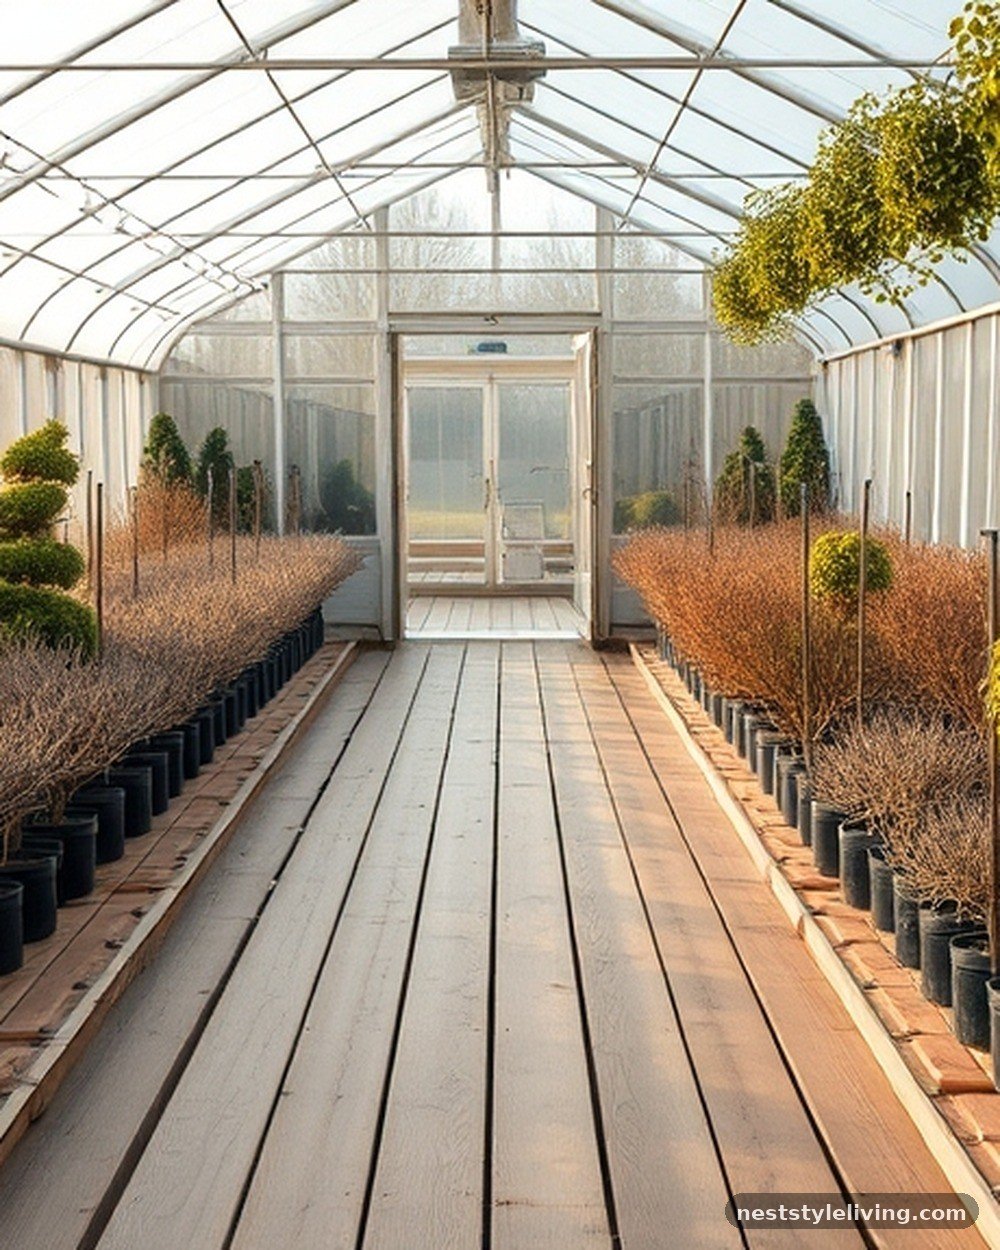
The overwintering storage core layout is designed for gardeners who need to move large, dormant potted plants indoors during the winter months. This layout features a central “storage zone” where plants are packed tightly together, often with their foliage trimmed back, to survive the cold season in a state of rest. By creating a specific core for these plants, you prevent them from overcrowding the active growing areas of the greenhouse.
The space is often kept cooler than the rest of the structure to encourage dormancy. This layout is vital for protecting perennial shrubs and trees that are not hardy in your specific zone. It keeps the greenhouse organized and prevents the “clutter” that often happens when people try to cram too many large pots into a small space.
Use individual drip trays under each overwintering pot to prevent water from pooling on the floor and creating a damp environment that could encourage mold or fungus.
Frequently Asked Questions
What is the most efficient greenhouse layout for beginners?
The U-shaped perimeter is widely considered the best starting point for beginners. It provides a simple, logical flow that keeps all your plants within reach while leaving the center open for movement or a small potting station, making the space easy to manage without overwhelming you.
How do I keep my greenhouse warm in winter without electricity?
You can utilize thermal mass by placing large black barrels of water inside the greenhouse. These containers absorb solar heat during the day and release it slowly at night. For more details on passive heating, you can consult resources such as the USDA Natural Resources Conservation Service for guidance on climate-smart agricultural practices.
Is it better to use fixed or movable benches?
Movable benches are superior if your growing needs change significantly throughout the year. If you have a static routine—such as only growing tomatoes every season—fixed benches provide more stability and are often cheaper to construct or purchase as permanent fixtures.
How can I prevent pests from taking over my greenhouse?
The best defense is a clean layout. Ensure your floor is easy to sweep, remove dead leaves immediately, and maintain adequate airflow between plants. Avoid overcrowding, as stagnant air and decaying organic matter are the primary drivers of pest and disease outbreaks in enclosed structures.
What floor material is best for a greenhouse?
Crushed gravel or pea stone is excellent because it allows water to drain away while providing a stable, level surface. Concrete is easier to clean but can become slippery when wet, and it does not allow for natural moisture drainage, which can be a disadvantage in humid environments.
Conclusion
Selecting the right layout for your greenhouse is about balancing your specific gardening goals with the physical limitations of your structure. Whether you prioritize vertical growth with tiered shelving or accessibility with a wide, central loop, the goal remains the same: creating a space where plants thrive and your tasks feel light. By implementing these greenhouse layout ideas every gardener will love, you move beyond mere plant storage into a truly optimized growing environment.
Take the time to assess your workflow, identify which tasks currently frustrate you, and adjust your internal architecture accordingly. Your plants will respond to the improved conditions, and you will find much more joy in the daily process of tending to your garden. Keep observing how your space changes with the seasons and feel free to refine your layout as your collection grows.